Timelines are visual tools which help learners understand how events and concepts unfold in historical chronology. They are especially helpful at providing insight into how events impact each other.
Latest articles from CIE
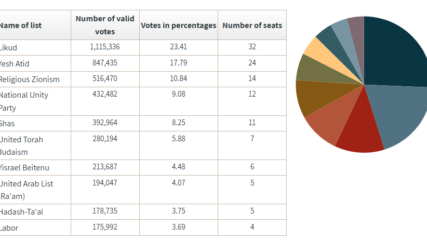
In the News: “How Israeli Elections Differ From US Political System”
CIE President Ken Stein speaks with the Atlanta Jewish Times in advance of the October 2026 election about differences between the U.S. and Israeli electoral systems.

Chaim Weizmann’s Notes for Speeches on “Rallying World Jewry to Partition,” 1938
Chaim Weizmann, a top Zionist leader, vividly pronounced parallel Jewish realities in 1938: disaster confronting Jews in Europe and advanced state building in Palestine. Ten years later history was written.

Explainer: A Short History of Hamas and the Hamas-Israel War
Updated July 10, 2026; originally posted October 2023. By Ken Stein Hamas’ Origins The 1988 Hamas Charter and remarks by its leaders and other publications express hatred of Zionism, Israel and Jews. It is thus unmistakable that Hamas…
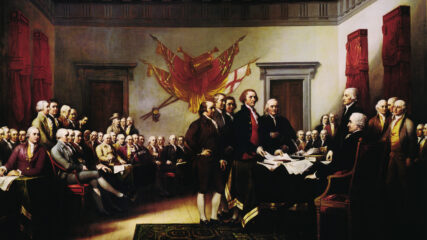
Comparing the U.S. and Israeli Declarations of IndependenceCIE+
By Ken Stein, President, Center for Israel Education A short comparison of key concepts found in the American Declaration of Independence, July 4, 1776, and the Israeli Declaration of Independence, May 14, 1948. CIE+ Reliable…

#160 Contemporary Readings, June 2026
By Maya Rezak and Ken Stein, June 30, 2026 Videos and Multimedia Center for Israel Education, “Six Days that Redrew the Map of the Middle East,” audio playlist. Kirsten Fontenrose, Damian Murphy and Brian Katulis,…
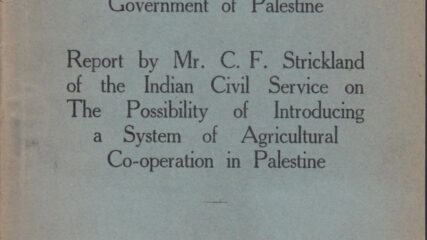
Government of Palestine, C.F. Strickland, “A Report on the Possibility of Introducing a System of Agricultural Cooperation in Palestine”CIE+
Correctly observing that the vast majority of Palestinian Arab peasants were trapped in debt with interest rates between 30% and 70%, this British civil servant suggested establishing agricultural cooperatives. But neither Arab leaders nor British bureaucrats wanted to provide the funding. For the duration of the Mandate, the Palestinian peasant remained hard-working, sullen and impoverished.
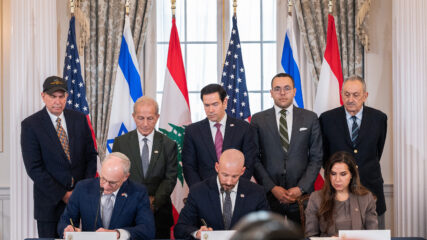
U.S.-Israel-Lebanon Trilateral Framework Agreement on Recognized Sovereignty, Mutual Security and Peaceful Relations, June 2026CIE+
A U.S.-mediated agreement between Israel and Lebanon provides a comprehensive path, through bilateral negotiations, for peace, full sovereignty and mutual recognition.
 CIE+ Audio Playlist
Six Days That Redrew the Map of the Middle EastCIE+
Speeches, source documents and analyses from the 1967 war, gathered into one playlist you can listen to end to end — from the closing of the Straits of Tiran to the aftermath.

U.S.-Iran Memorandum of Understanding to End War Over Nuclear Arms, June 2026CIE+
The June 2026 U.S.-Iran Memorandum of Understanding as read to reporters by a U.S. official, although the White House did not publish the text.